# Guide: ClassDo & Google Forms
In this example, we will walkthrough the steps for sending room invitations on ClassDo from Google Form responses for a trial class sign-up. At the end of the example, when interested students sign up for a trial class via the Google Form, they will automatically receive a room invitation to ClassDo.
# Create a Google Form
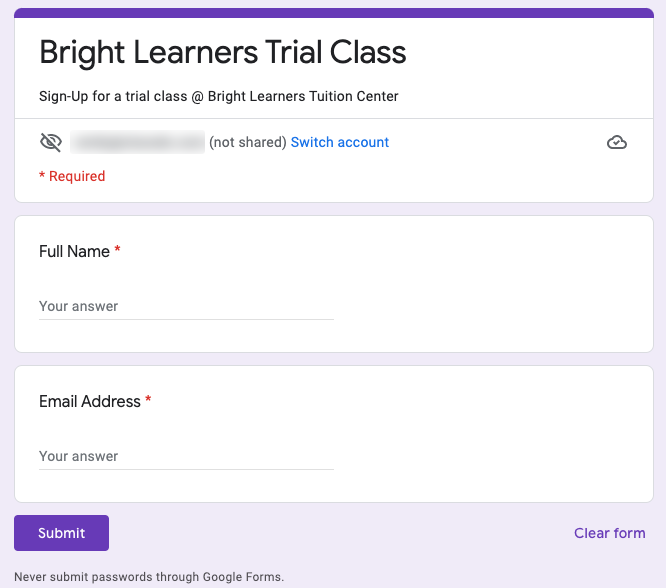
To keep the example concise, we will create a simple Google Form that collects the Full Name and Email Address of students. Then, we will need to create a spreadsheet to save the form responsese (opens new window).
# Generate an API key
Follow the steps in this article (opens new window) on ClassDo's Help Center to create an API key.
Note
Please keep the generated API key safe. You should not share this key with anybody or display it on a publicly accessible platform.
# Creating a Zap
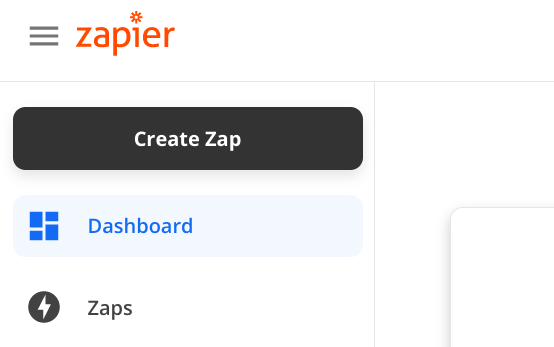
On zapier.com (opens new window), click on the "Create Zap" button to create a new Zap.
# Selecting a Trigger

Select the "Google Forms" app and the "New Response in Spreadsheet" trigger event, which will trigger the Zap whenever the form receives a new response.
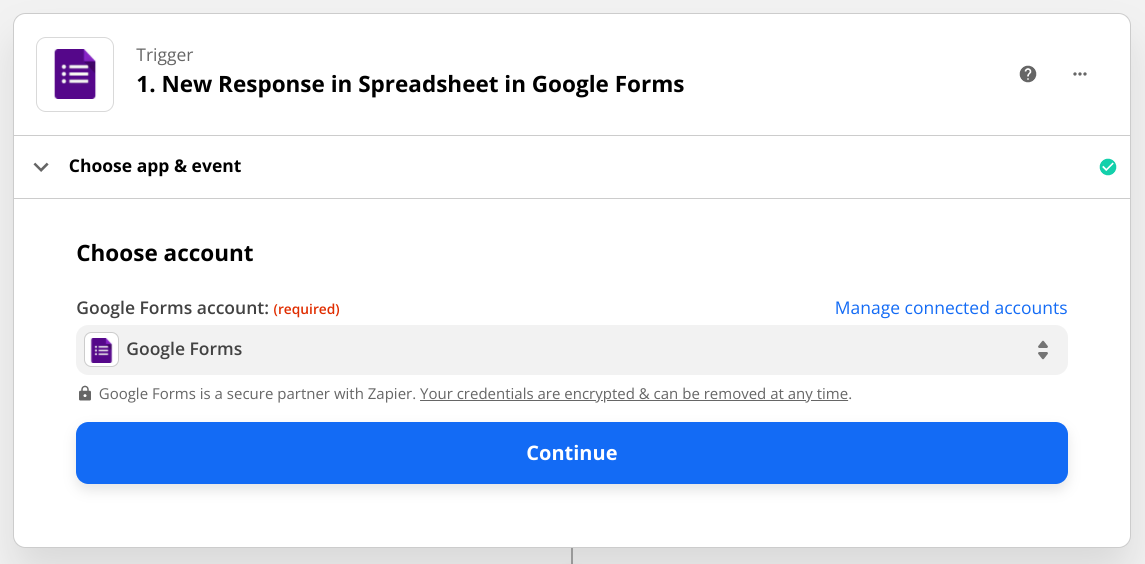
After clicking on "Continue", you will need to authenticate your Google Forms account.
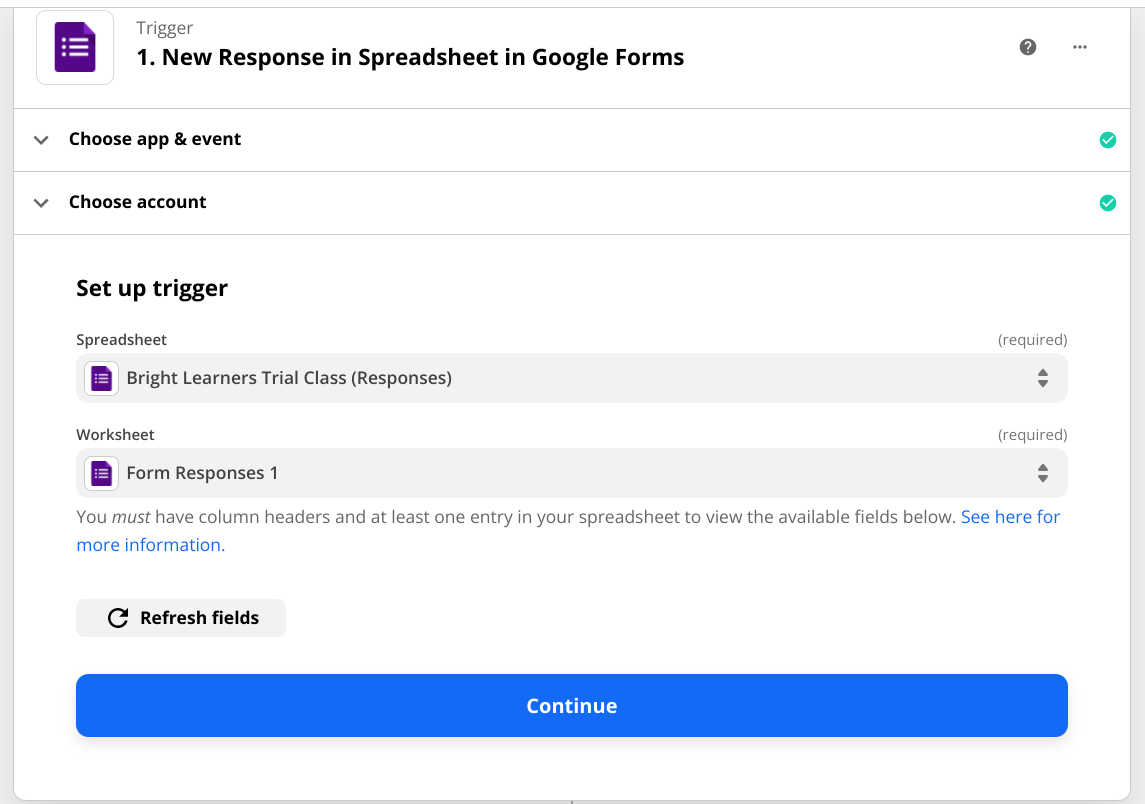
Then, click on "Continue" again, and select the response spreadsheet that is linked to the Google Form.
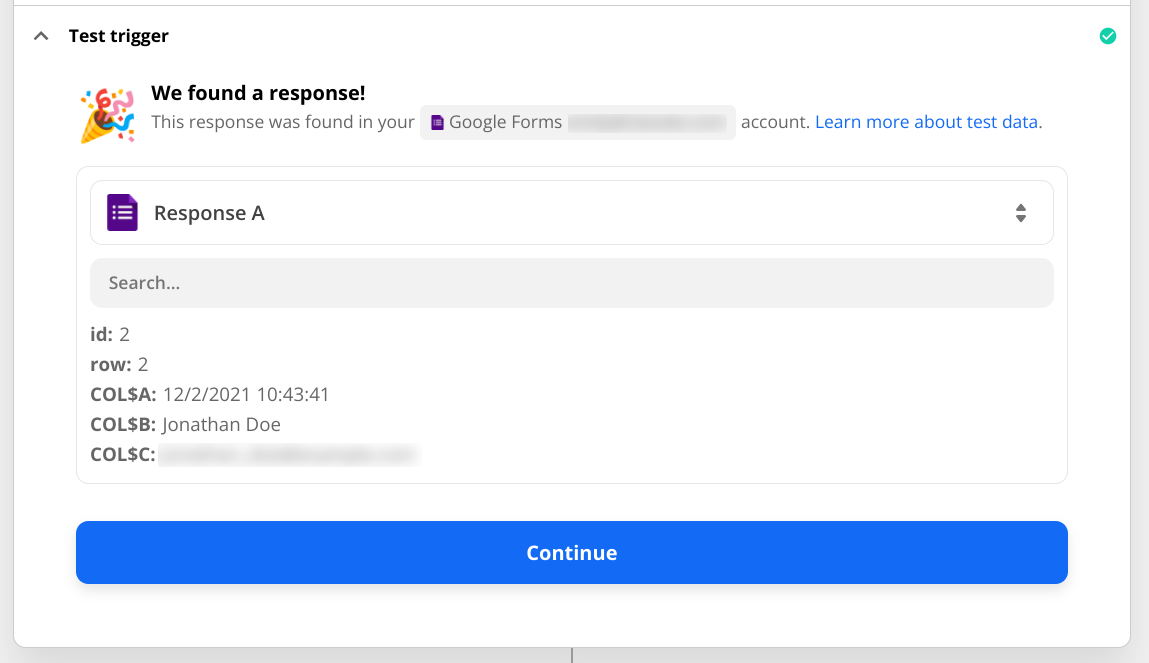
You would need to test the trigger by submitting the Google Forms with a test respose.
# Setting up an Action
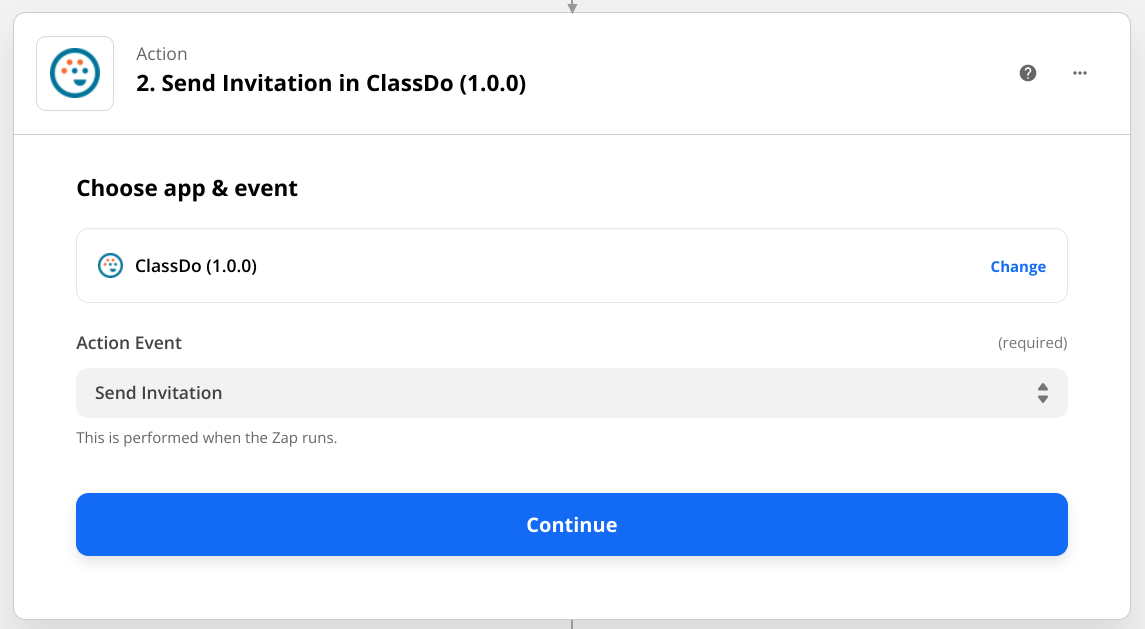
Moving on, we will start to set up the action. Select the "ClassDo" app and the "Send Invitation" action event, which sends a room invitation to the invitee.
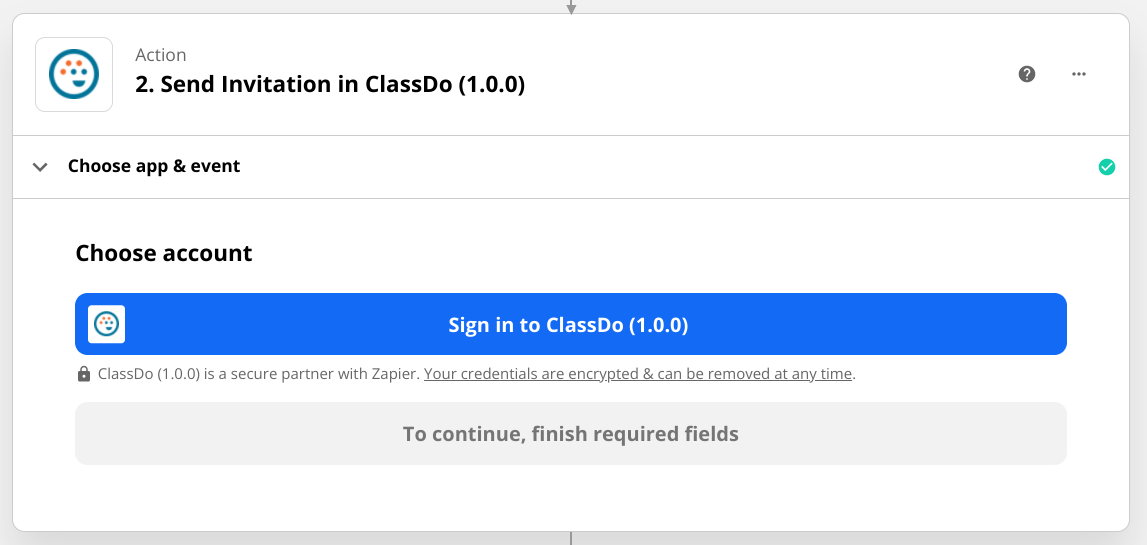
Next, you will need to connect a ClassDo account. Click on "Sign in to ClassDo", upon which you should see a pop-up window. You may then enter the API key that you have generated earlier in the input field provided.
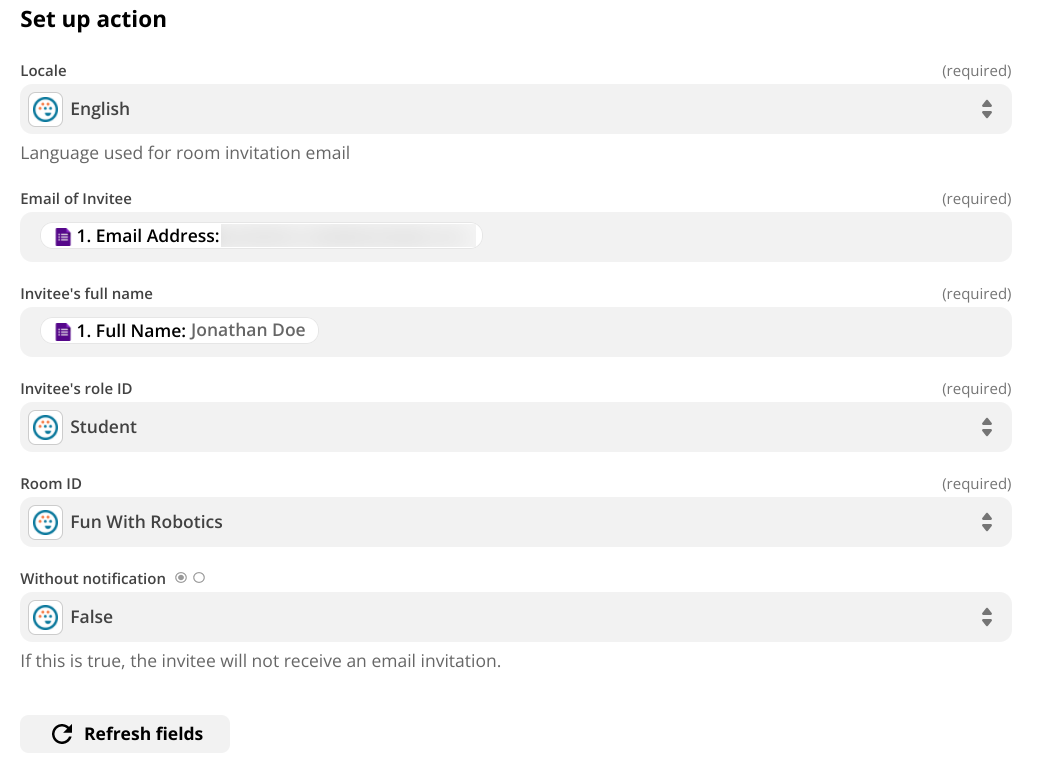
Once you have authenticated yourself, it is time to customize the room invitation in just 5 steps!
- Select an appropriate locale, either English or Japanese
- This will be the language used in the room invitation email.
- Populate the fields for the "Email of Invitee" and the "Invitee's full name" with the response collected from the Google Form.
- Choose the role of the invitee from the dropdown.
- The dropdown provides a list of roles available in the organization.
- Choose the room that the invitee should be invited to from the dropdown.
- The dropdown provides a list of rooms available in the organization.
- (Optional) Choose whether or not an email invitation should be sent to the invitee.
- If "Without notification" is set to "True", the invitee will not receive an email invitation. The default value is "False", which means that the invitee will receive an email invitation.
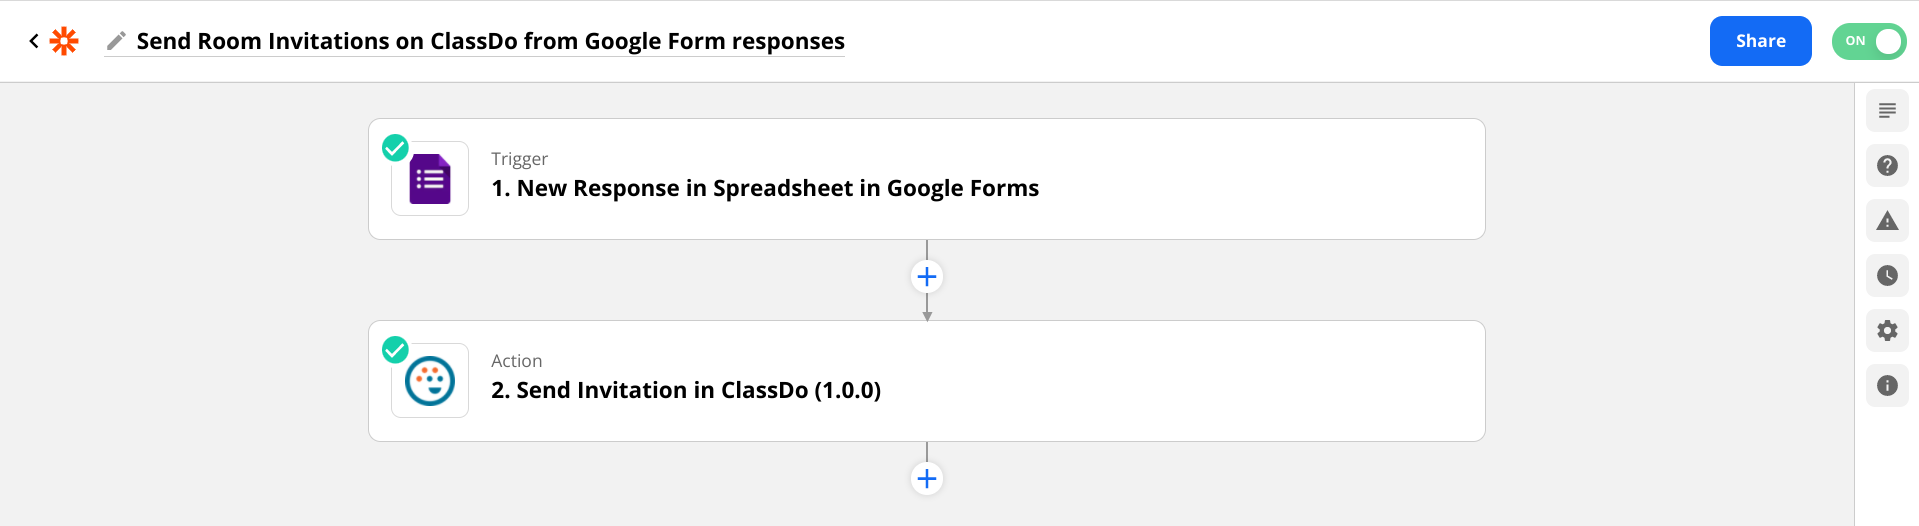
The final action should look like:
# Test & Review
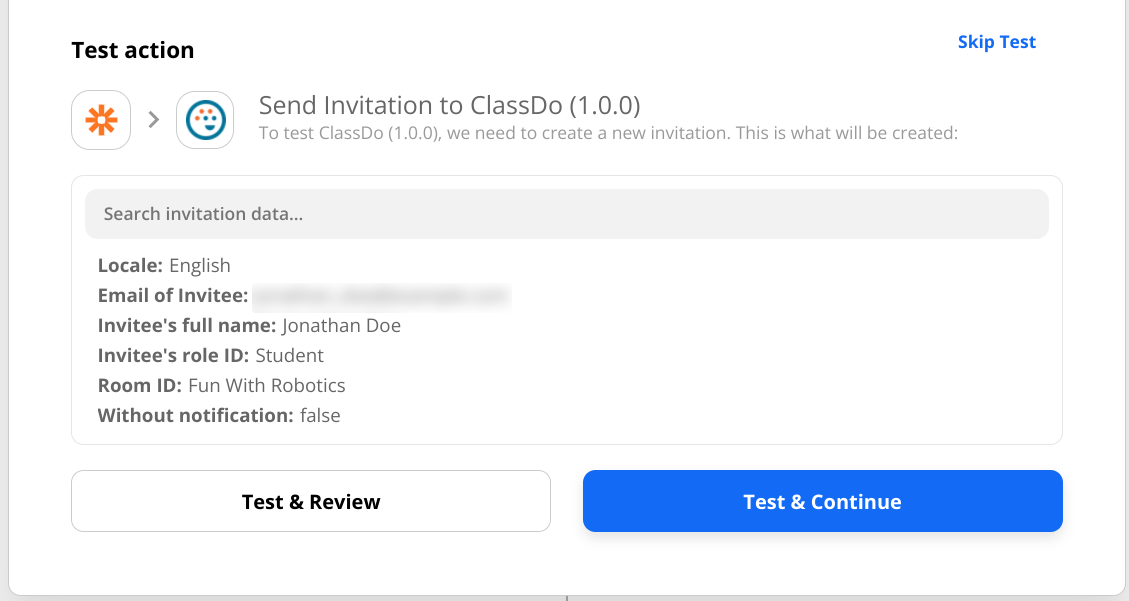
It is now time to test our Zap! Simply click on the "Test & Review" button to verify that our Zap has been set up correctly. In this step, an email invitation would be sent to Jonathan Doe to invite him to the Fun with Robotics room as a Student.
When you are ready, you can turn on the Zap to get it up and running!